Sunday, 6 April 2014

Carved Award Scrolls

A few years ago my good friend Sigurd Hardrada was given the accolade of knighthood in the SCA to much acclaim. I had the mistaken impression that in our kingdom, Lochac, our College of Scribes only prepared the award scrolls for which they are justly famous for the first award one received at each of the Award, Grant and Patent levels. Since Sigurd was already a peer, as a member of the Order of the Laurel for his metalworking and knife making, I thought I'd make him a reminder of the occasion fit for a viking warrior. Calligraphy and Illumination has never been my strong suit so I looked for alternatives. I took inspiration from the Norse standing stones dotted around Scandinavia which were used often as memorials or to acknowledge great deeds.
This seemed a good choice but again my lack of skill and equipment in stonework were a stumbling block so after a few abortive attempts at working stone I decided to play to my strengths and make the "stone" from wood. I had a large block of Rimu, a New Zealand native timber, on hand, about 400mm by 1000mm by 80mm, and decided to run with that.

I used the motif of a serpent around the outside and put the runes into this as this seemed a common way of doing this and used as my central motif a boar, as the boar is the central charge of Sigurds arms and to paraphrase the Bard "sorts well with his fierceness"
I wrote a poem in a style I felt was not inconsistent with my impression of norse style and converted it phonetically into the Younger Futhark. I don't have the poem on hand but I'll post it as soon as I locate it.
All this I carved into the wood using a combination of knife and a little bit of chisel work. The knife was the obvious choice of tool for carving runes and made short work of them. I finished the carving with a coat of light oil to give it a bit of pop and to protect it.
I gave the carving to Sigurd at Royal Court at Canterbury Faire and was well pleased with it's reception.
I later went on to carve another scroll for Bjorn Svartsson which I'll describe in a later post.


Tuesday, 4 March 2014

Heraldic Display in the SCA

Over the last few years I've tried to incorporate my arms or badge onto a lot of my creations, it seems like a good use of my arms and in a lot of cases very period practice for a nobleman. This year I'm aiming to put them on nearly every project I do even if it's just in a minor way. We had a tourney a while back with a heraldic theme and the site looked outstanding with banners flying, gonfallons gonfalloning and heraldic display everywhere. Something to be encouraged in my opinion.
So I need to get my badge registered so I won't lose it if someone else decides they prefer it instead. Time to contact a herald methinks.
In the past I've tended to go for some fairly obvious uses such as the ones below but this year it's time to step it up a bit.
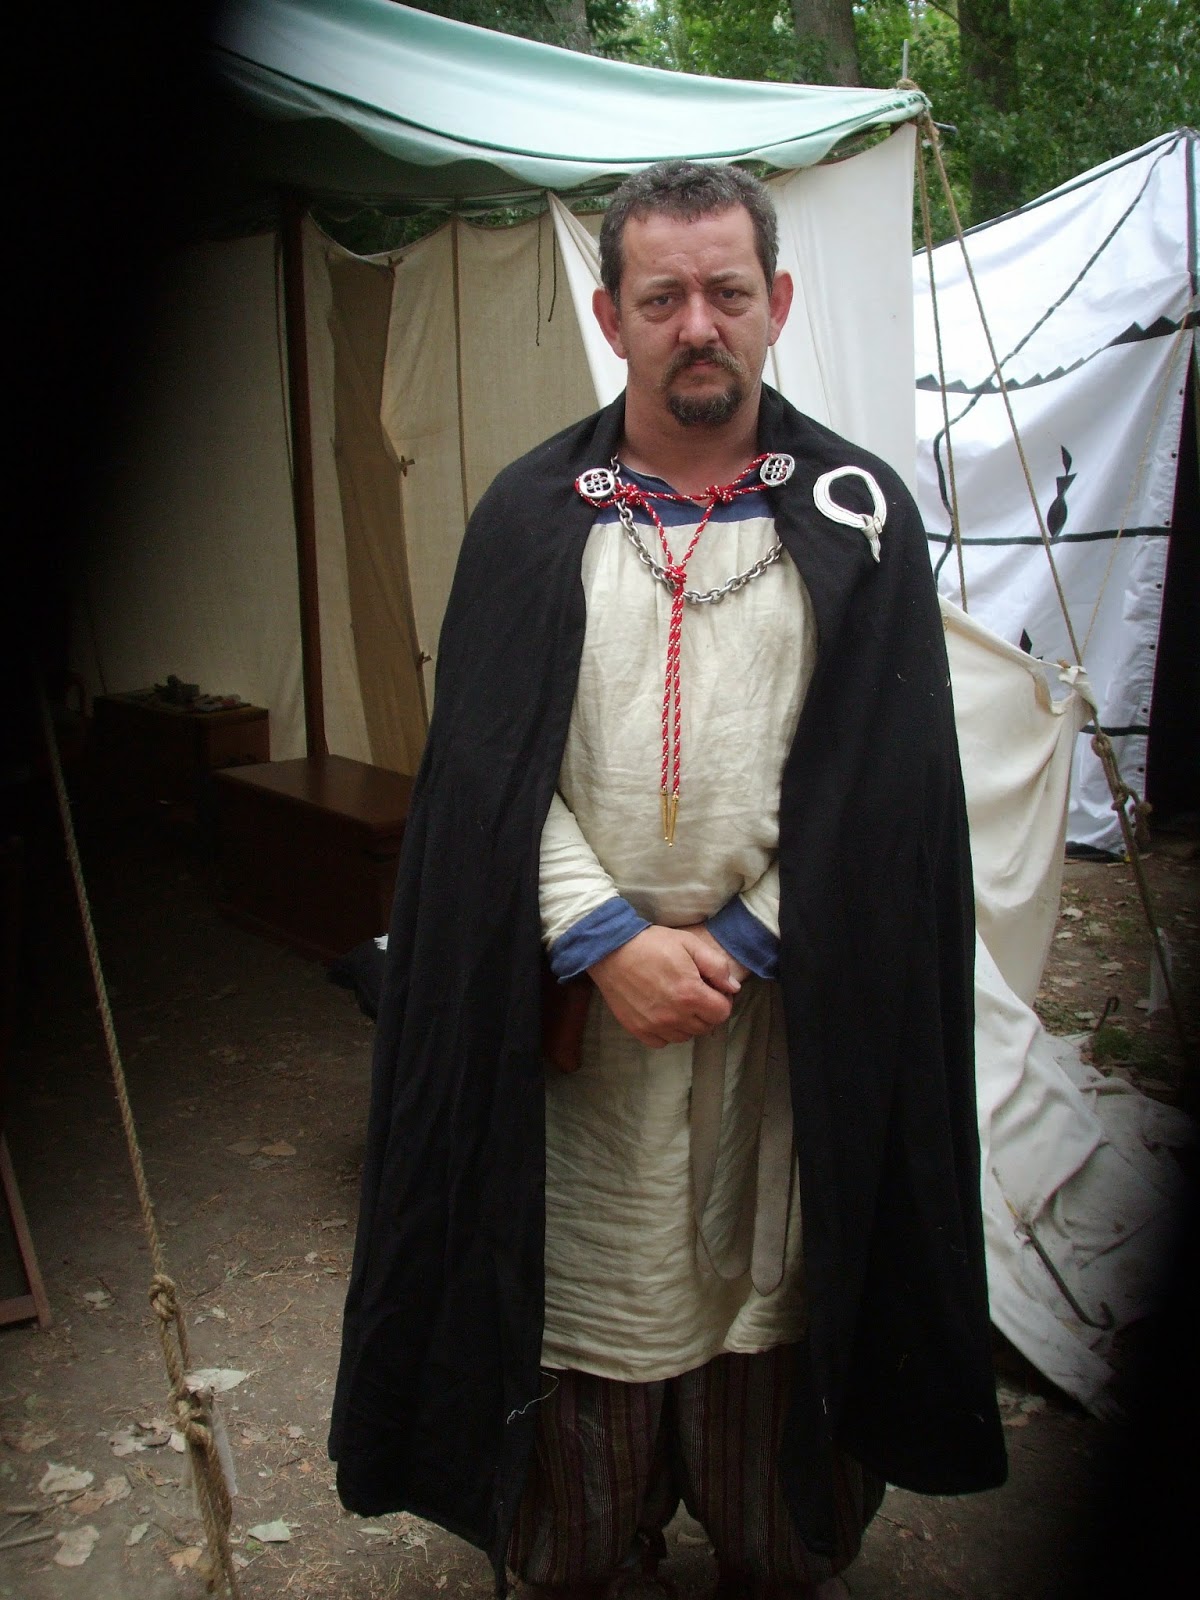
This is a cloak I made a few years ago featuring my achievement of arms. Its cotton cloth appliqued onto a woolen cloak with faux pearls and pearl drops making up the ermine points and pearls on the baronial coronet on the helm. I added a piece of insignia to the front when I joined the chivalry. I'd like to do some more work to it still, maybe add award tokens and the like but I'm pretty happy with it in its current form.
The cloak is fastened using two pewter castings featuring
Caidan crosses to show my roots in Caid.
These are my arms displayed on a banner, Counter-ermine, between two ribbands argent a bend sinister wreathed argent and gules. As with the cloak I put a bit of texture on it by using pearls and tassels to make the ermine spots.
 I decided not to cover my whole shield with my arms but to surround them with an orle of my badge and the Caidan cross. The shield is T-6 aluminium but I've tried to mitigate the appearance by covering it with painted canvas and continuing the canvas right over the edging.
I've also incorporated elements of my arms into a series of silk standards to help add to the pageantry at events.
Now to plan where next to put them.

Handmade Wax Tablets

In my last post I talked about the bulk lot of wax tablets Bjorn and I made as site tokens for Canterbury Faire. A nice exercise in mass production but not hugely fulfilling from the point of view of making really nice period pieces using period processes and tools.
We decided to make twenty or so using period equipment and some lovely english oak that happened to be lying around the workshop.
Since we'd put the effort in to research the correct methods and appearance and found some nice examples online we decided to experiment a bit.
We figured the Steward and Their Excellencies could use these tablets as both gifts and largesse so we made some specifically for some people and others we made a bit more generic.
We made a pair of arched tablets for Their Majesties. They were hand cut and gouged and filled with a vibrant red wax. I bound them with leather and Bjorn made brass styli to go with them. They were finished with a little beeswax polish.


I also made some oak tablets of about the same dimensions as the bulk lot but made by hand this time to try to get the techniques down pat. I found with a truly sharp chisel I could get the oak, which was very well seasoned to peel away like butter so I simply had to mark the boundaries of the cavity with a 50mm chisel and push out the 5mm or so of wood inside. These were also given the red wax and leather treatment.

The most satisfying part of the project was the discovery of sets of small tablets in leather cases, mostly from fairly late in period. My leather work was not spectacular so my first thought was to make the small sets but put them in little hardwood boxes.
The tablets are double sided and are only about matchbox size so they are very fiddly but again a very sharp chisel produces a satisfying result.


However it was sets like this that had impressed me so I went ahead and tried to make leather cases for a dozen or so sets.
I used 2-3mm vege tanned leather whic I wet and stitched around the set of tablets and left to dry. This formed the inner layer which was then covered with a second layer, also wet and stitched. I cut oak ends for the sets and when the leather was dry glued them in place, flush with the ends.
While they were drying I inserted rods into the sides of the cases to make channels for the cords and the stylus at the front of the case.


All that remained from the cases point of view was to dye the case, seal it with leather sealer and fit the cords to hold it together and hang from a belt.

I made a couple of tooled leather cases for a couple of friends but I haven't got pics of them at the moment so that's for another day.
Big thanks are due in the wax tablets project to Bjorn Svartsson who was an excellent partner to work with and taught me a lot, particularly about the waxing process and bored himself silly making styli and to Lowrens Williamson who made the lovely brand for the site tokens.

Sunday, 2 March 2014

Mass Wax Tablets

Two years ago I had a word with my flatmate, Bjorn Svartsson, and hatched a plan to create a site token for Canterbury Faire, the largest event our Barony hosts each year. We wanted to try to stretch ourselves to create something a little special and despite having to put together nearly 300 of them decided wax tablets would be a good idea. After getting the OK from the event steward we got going on research and preparing a plan.
We selected a design from a variety of period examples and made a couple of prototypes to make sure the design and materials would work. Then we set about the production phase.
 We selected beech timber because Bjorn had a good supply of it in a suitable size and its a good stable wood. Given that we were making 300 we rejected the idea of doing them all by traditional methods and  settled on making about 20 from oak using period methods and using modern methods and tools for the bulk of them. We were aware that doing 480 sides means that every minute spent on each one is equal to 480 minutes or a full work day. We needed to be very efficient to make the best use of our time.
We thicknessed the beech and cut the tablet sides to length.
 I made a jig from MDF and bolted it to my router. I'm a woodwork teacher in mundane life so I left the router set up in my workshop so I could do some when I had time spare. That sure beat spending a weekend doing 500 or so single sides at once. After each was routed I cleaned them up with a chisel and used the belt sander to tidy them up before putting them in a jig on the drill press to drill the two holes in each one.
While I was doing the woodwork Bjorn was bringing his expertise with wax into play and came up with a couple of recipes for the wax, one a black wax mix for the mass produced tablets and the other a red mix we were using for some of the hand made one. He was also making styli  by forging a flat head on nails and grinding a point for writing. Once again doing 300 meant working smarter not harder.
The wax was a mixture of beeswax, olive oil and lamp black for colour. We poured the wax in large batches and got quite efficient with one of us ladling out the wax and the other laying out the tablets and gently tilting them to ensure the liquid wax filled right up to the corners of the tablet. Not many needed to be repoured but it was easy to scrape them out and do them again.
The tablets were tied up in pairs, some with leather and some linen string and ended up with a box load of tablets.
In the meantime Lord Lowrens had been busy making a brand featuring the Lochac Badge from steel. We tested it on a piece of delicious bacon then branded about half the tablets


Finally off they went to the Stewards house and we never wanted to see them again. : )
They seemed to be pretty well received and despite having had quite enough of them enjoyed the project and the learning we did.
Next edition I'll look at the handmade tablets we made.

Friday, 28 February 2014

Spanish Chopines

While I was making the venetian chopines I talked to our lovely Baroness, Mistress Isabel Maria del Aguila, and discussed the fact that Venetians weren't the only folk to make chopines. I didn't know the Spanish had done that too but that's the beauty of the SCA, you learn something new every day. Obviously then, I was keen to explore them further and since I knew such a well dressed Spanish lady my next steps were obvious, research the Spanish version of the chopine and make a pair for Her Excellency. There were several examples of extant Spanish chopines available online and the more I looked at art from the period the more examples I came across.
In period cork was the preferred  material for chopine bodies but I was unable to obtain any at a reasonable price so I used pine bored out to reduce the weight. The shape is more complex than it appears at first appearance and took several attempts to get right.
I made the vamps from leather and covered them in the fabric I'd chosen to cover the chopines. The vamps and covering were then sewn to the leather sole which was in turn glued to the wooden body.


I then tacked the covering to the bottom of the body and stitched up the back seam.


The bottom sole was then glued to the body and then stitched through the wood to bind both the sole and the cover.


This left a nearly finished chopine which looked thus. I added eyelets and laces and presented them to Her Excellency.
However, Her Excellency, being a member of the Order of the Laurel for her accomplishments in the Sartorial arts could hardly be expected to leave things there, so, with a little judicious application of some appropriate decoration, this are the finished chopines in all their glory.


Chopines continued

Once I'd finished my first pair of chopines I got a few admiring comments from some of the local ladies, so since I wasnt really going to make any for myself I thought I'd make a few more pairs to try to improve my technique.

This pair I made for the Honorable Lady Elizabetta Foscari and as luck would have it she was in the midst of putting on a series of classes on Italian garb.
I kept the style the same so I could work on making them more efficiently and getting my upholstery a bit more tidy.


This pair were for Lady Lucia Anastasia da Curzola who, though frequently appearing to be one of the Golden Horde is actually a cultivated Venetian lady.
I also made a pair for Ginevra Isabella di Serafino Visconti.
I think I managed to get more consistency in my work and have got a handle on the basics of these shoes. I made a few changes to the original pattern I was using to account for my style of stitching and I think when I do more I'll be a bit more efficient.

Elevated Footwear - Chopines

   
A couple of years ago I had the pleasure of meeting Queen Cassandra of Caid when she and King Sven attended Canterbury Faire in our fair Barony. I decided to make her a pair of chopines for her to wear with her lovely venetian outfits and set about researching how to make and decorate them.
I spent a fair bit of time over this and during my search found a great site run by Francis Classe at
http://aands.org/raisedheels/ . I found his work really informative and Francis himself very helpful.

Following my research and some helpful hints from Francis I produced my first pair of chopines.
I began by roughing out laminated pine boards with a band saw and attached a marine ply base to act as the sole.
The next step was to complete the shaping of the body of the chopines with rasps, gouges and a belt sander to prepare them for upholstering.
Once the shaping was done i cut and tooled a leather sole and vamps.
I added a little Caidan Cross in honor of Her Majesty.


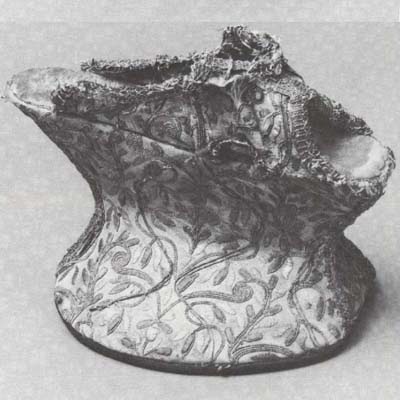
I managed to get hold of some nice light blue velvet and silver trim and upholstered the chopines using a four piece pattern I'd seen on the raised heels site. The finished product ended up thusly, which I thought was a nice amalgam of the two extant examples below. All in all I was reasonably happy with my first effort.